by SecuriCare Team
Healthy Eating for Incontinence: A Guide to Supporting Bladder Health Through Diet
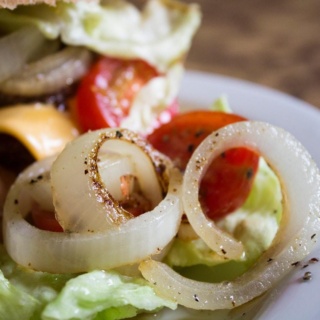
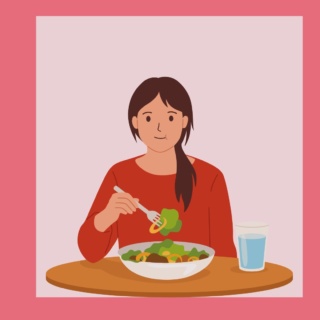
We've put together some tips on how you can support your bladder health through managing your diet including what foods and drinks can irritate your bladder.
Diet and Nutrition